
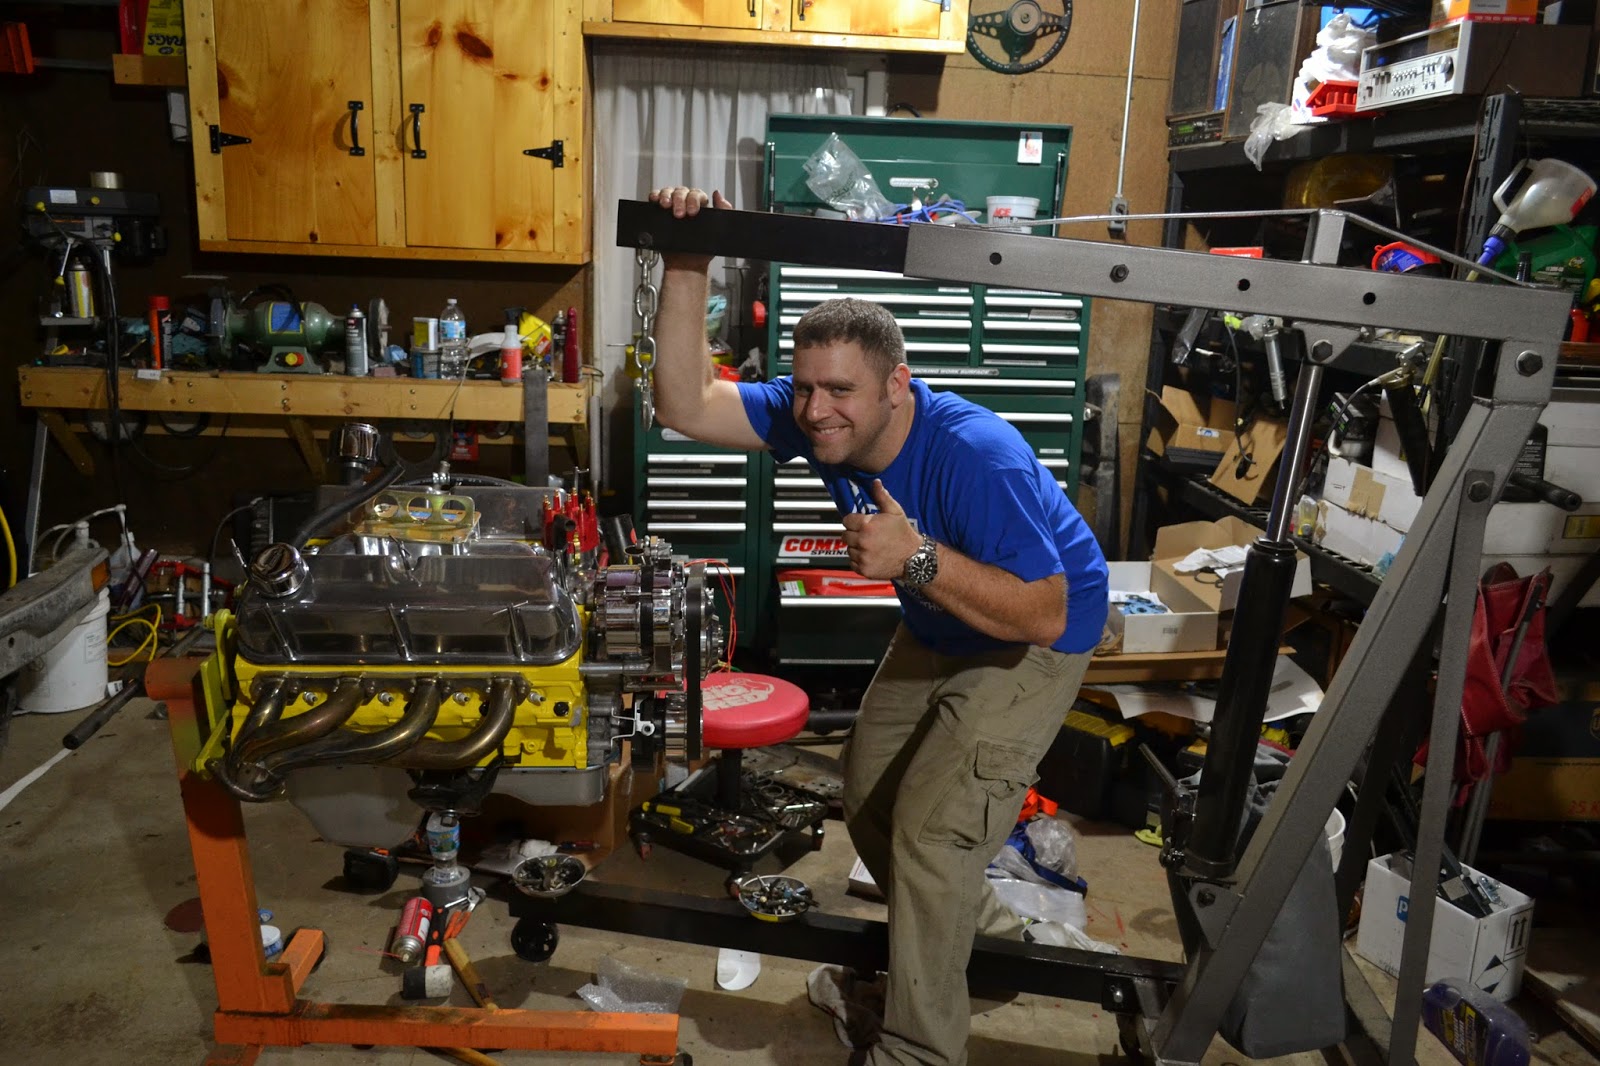
I have moved to more modern Mustang Engine I found a Roller Cam block and have retired the 79 block for now. I have Fidanza flywheel that needed some work when I disassembled the other engine. My Performance flywheel was made to be universal. I have a 50 oz and 28 oz imbalance weights for the flywheel. In 1982 the first HO engine was built and all following engines from that year on came with a 50 oz imbalance. As you can see the Fidanza performance flywheel comes with a replaceable friction surface. I ordered a new one and also noticed that the ring gear was damaged on one side. Fidanza Recommends that this is pressed off evenly with a machine due to the Aluminum having a different expansion rate then the Steel Ring gear I sent the flywheel off to Fidanza to do the work for me. They were kind enough to check balance on my Ford Racing King Cobra Clutch pressure plate as well.


This was a one man show so I did not install the engine with transmission attached. With two people I could have done that with no worries of scratching anything, but since I was alone there was no way I was going to risk it.


Here is the Flywheel back from Fidanza and installed. Transmission reinstall by myself was a real pain and took me about 4 hours.


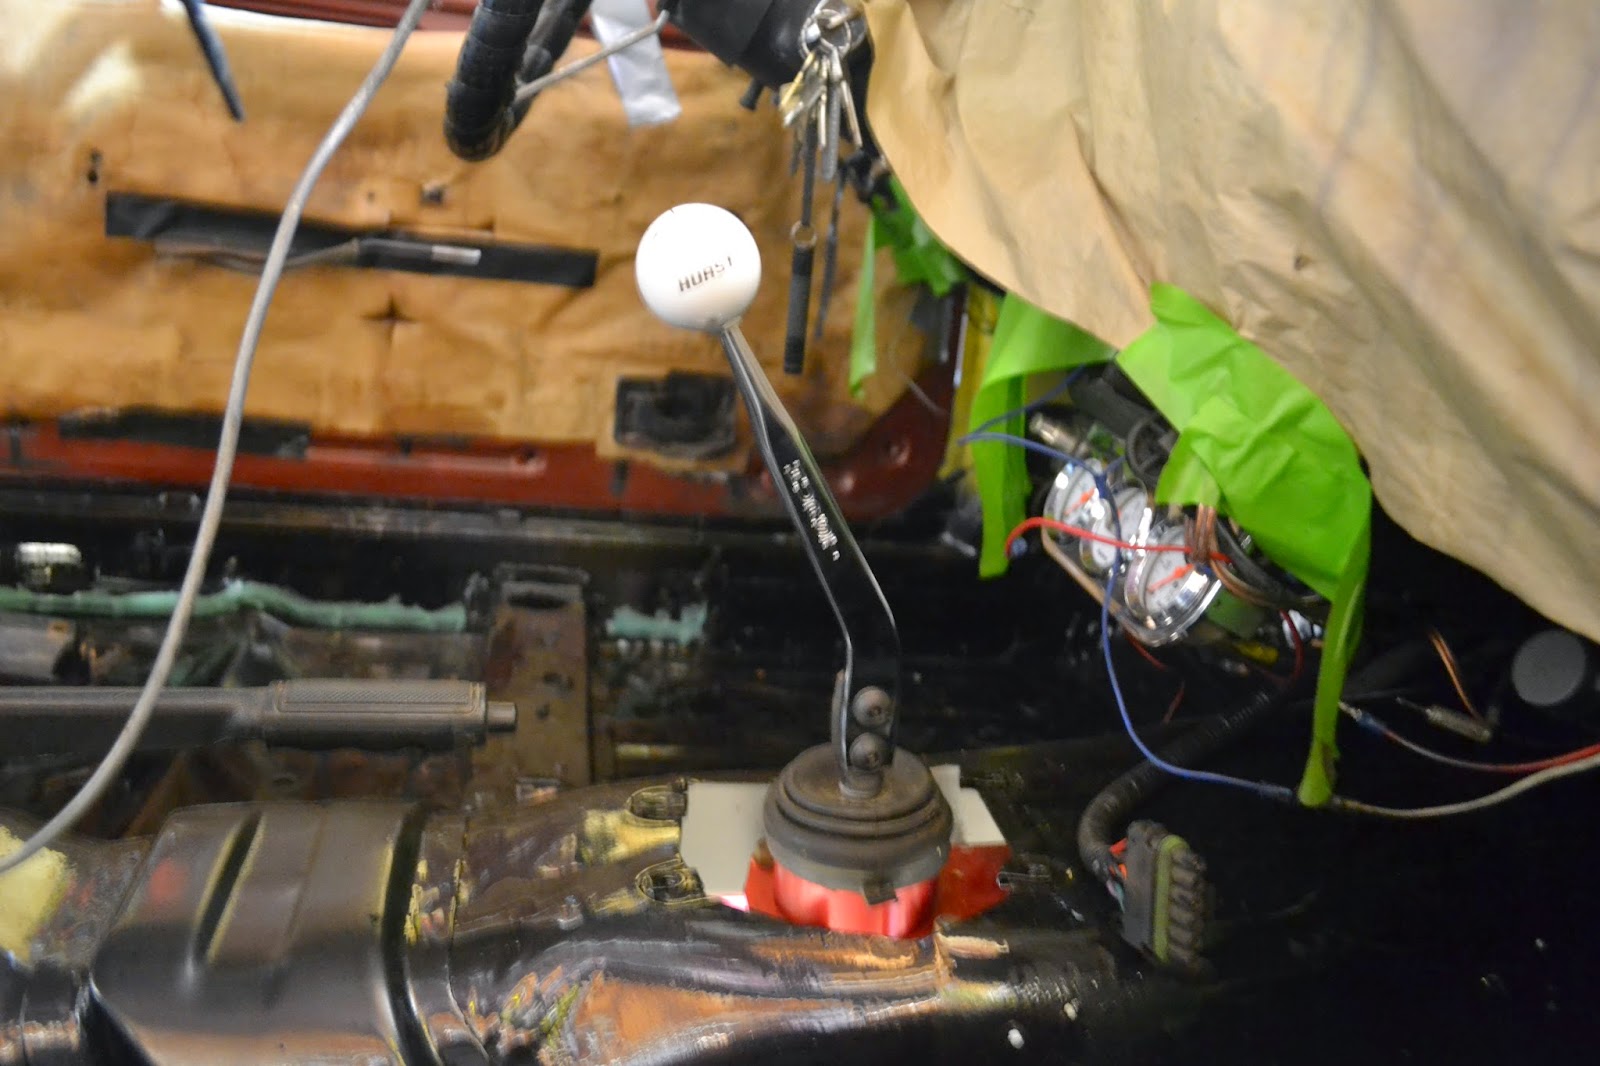


Transmission install finished, but be warned when using a universal tranny plug as seen can end up stretching out your rear tranny seal if left in to long. I ended up changing out the seal due to a gap I saw after I installed the Ford Racing aluminum drive shaft.


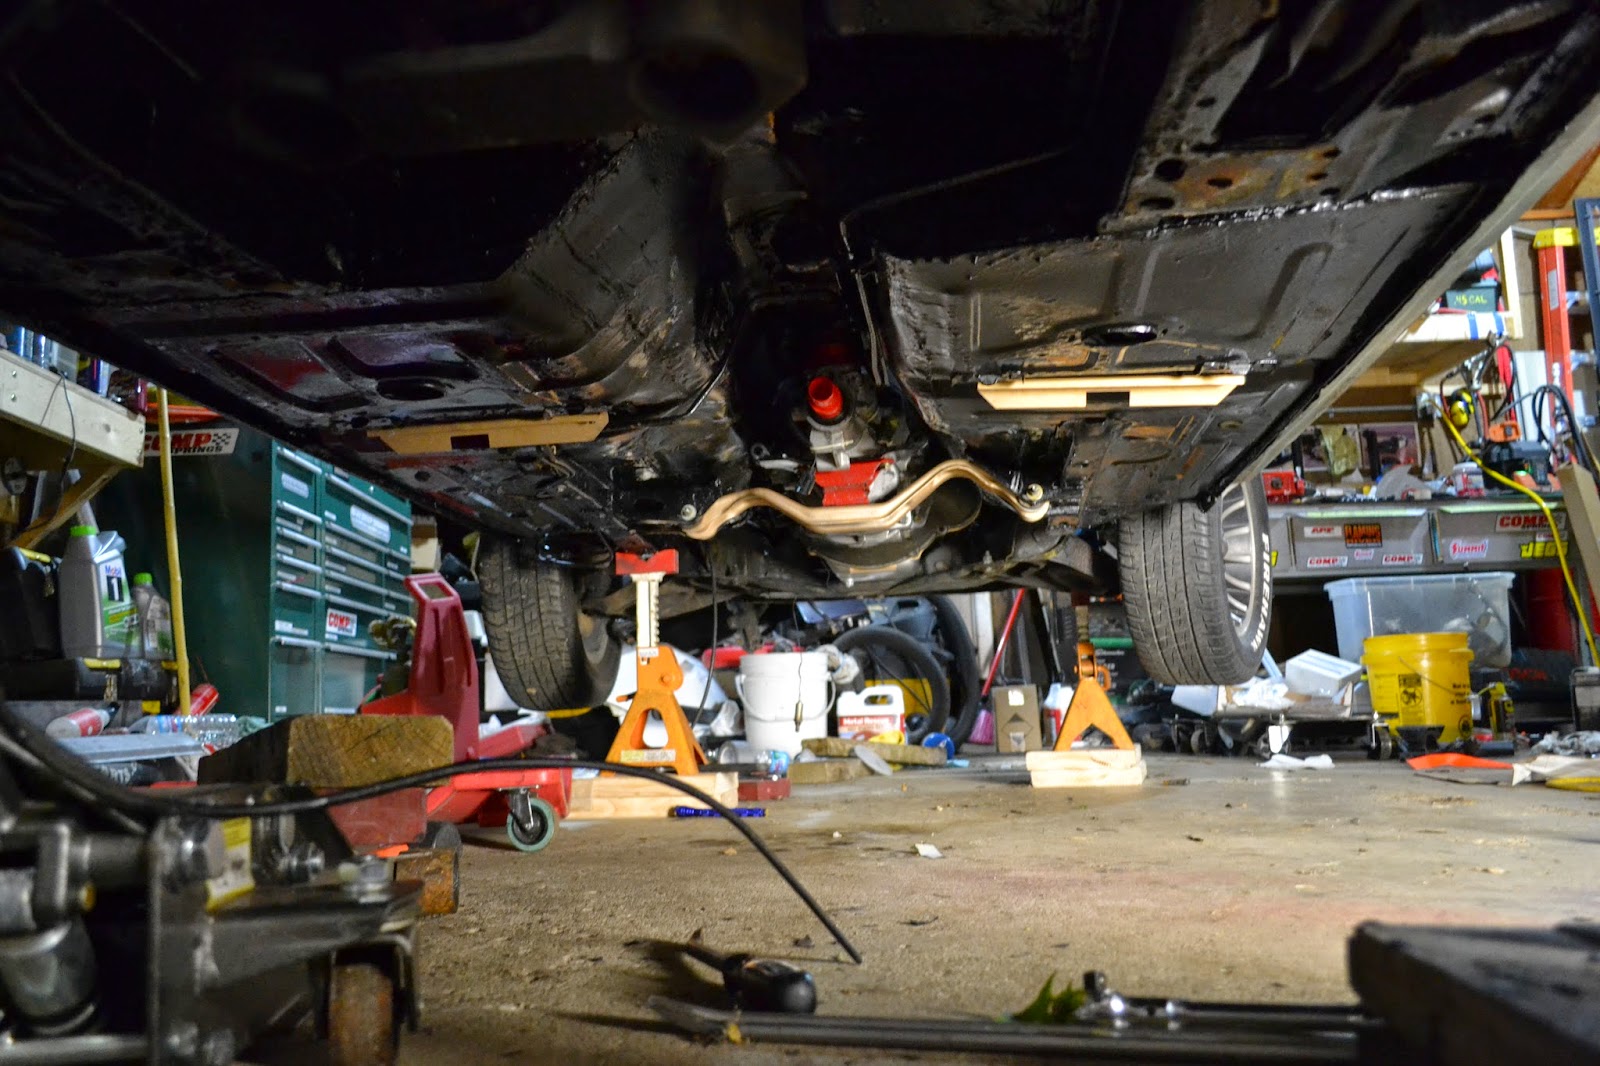
Next is the Full Length Sub frame connectors to be installed. Since I am making this into an autocross car I planned on stiffening up the chassis. This will also be very beneficial for future engine mods. If I ever get the finances for a 331 Stroker kit the reinforcements needed to the chassis will already be there.

The pic above is a picture of the passenger side Cross member mount. this will have to be cut and flattened out with a hammer against the sub frame. Once the sub frame connector is in place I will weld the points that were cut to the sub frame connector to add strength. Picture below is the driver's side sub frame connector. Notice that the 1979 Ford mustang has the fuel line run straight across the sub frame. Fuel line will need to be cut and replaced. Currently I have the fuel tank back in the car but it has not had fuel added to it yet. I have been waiting to get these sub frame connectors added.

A nice add-on from Steeda is a torque box reinforcement plate. I had to do some significant pounding and prying on the torque boxes to try and straighten them out. Most get crushed from years of Jacking or putting on lifts. Below is the plate welded into place.


A little trick to get the "C" Clamp moved into proper position was to add a little tension with a jack and a block of wood.


I used three Jacks in total. I am by myself doing all of this, so this made my life a little easier, a little ingenuity never hurt.


I tried to initially get things all clamped at once and that got things close but there appeared to be a need to finesse things a little so I decided to start welding from the back and work my way forward. Once one point was anchored then I could twist and pull the sub frame connector whichever direction needed to get things straight as an arrow in line all the way down. I love the fact that these came with the seat reinforcements as well.
No comments:
Post a Comment